Entity overview page in the presentation builder
Last updated: August 15, 2025
The Entity overview page in Luminary allows you to pull in various entities you have created within Luminary. This is a great page to use when you want to have a conversation with your client about how a particular entity they own works – how it distributes, who the trustees and beneficiaries are, and other key considerations.
When you click on Entity overview from the list of page options in the presentation builder, the following modal will appear:
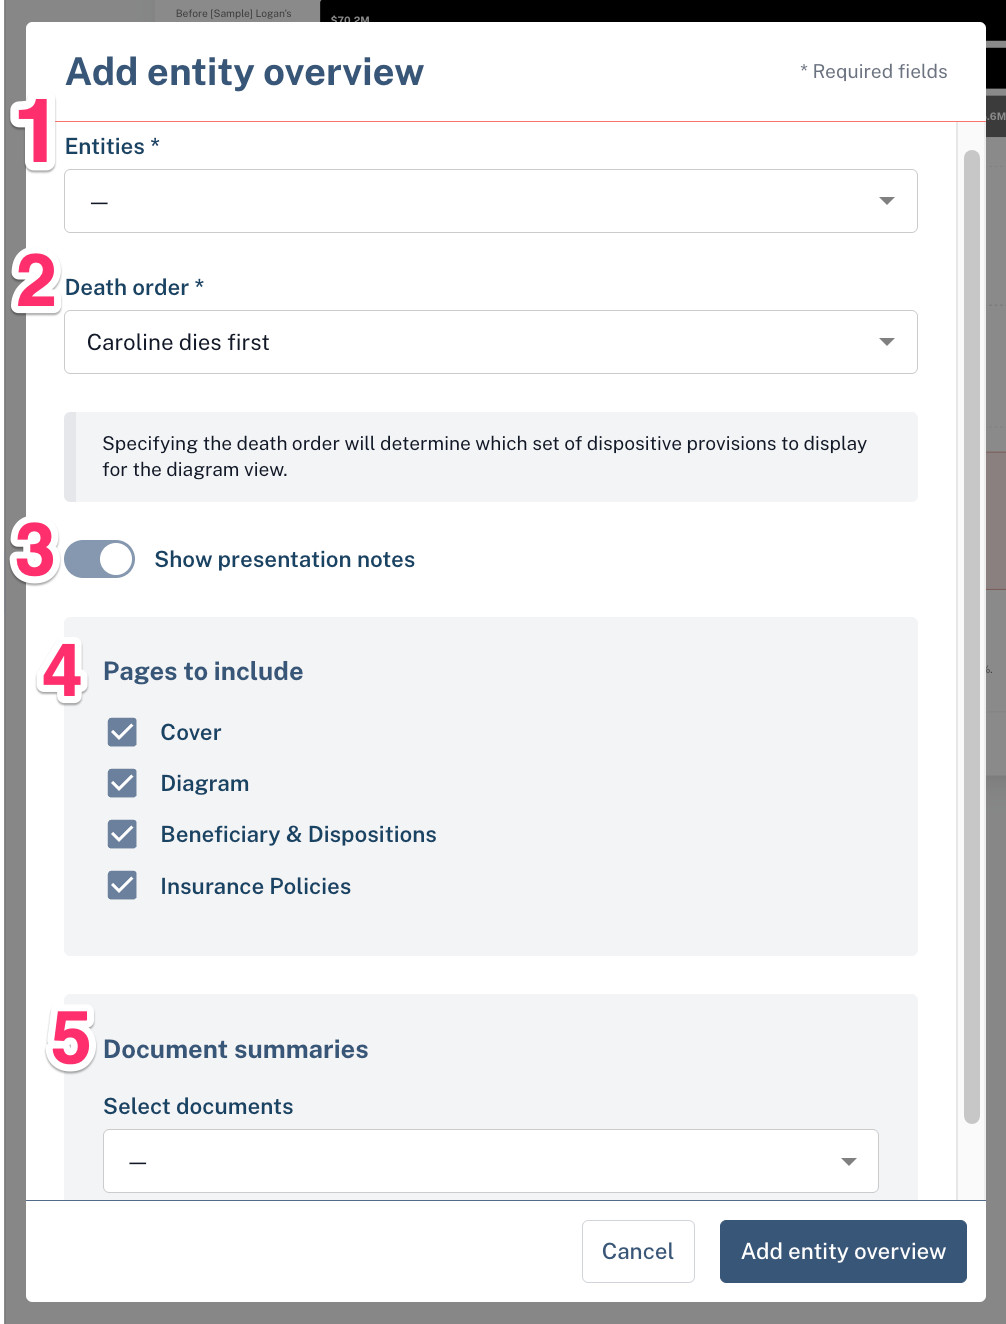
From the "Entities" drop down menu, select the waterfall you want to pull into your presentation.
Specify the death order you would like to present for this particular entity. The entity overview includes a diagram that shows how assets flow at different death events. In two-client households, the distribution pattern will vary depending on who passes first—so select the death order you'd like reflected in the diagram.
Toggle "Show presentation notes" on or off, depending on whether you'd like to include notes alongside the entity diagram. These notes can be used to add helpful context or explanations specific to the entity (see first screenshot below).
If you choose to exclude presentation notes, the diagram will automatically expand to fill the entire page for a cleaner, more visual layout (see second screenshot).
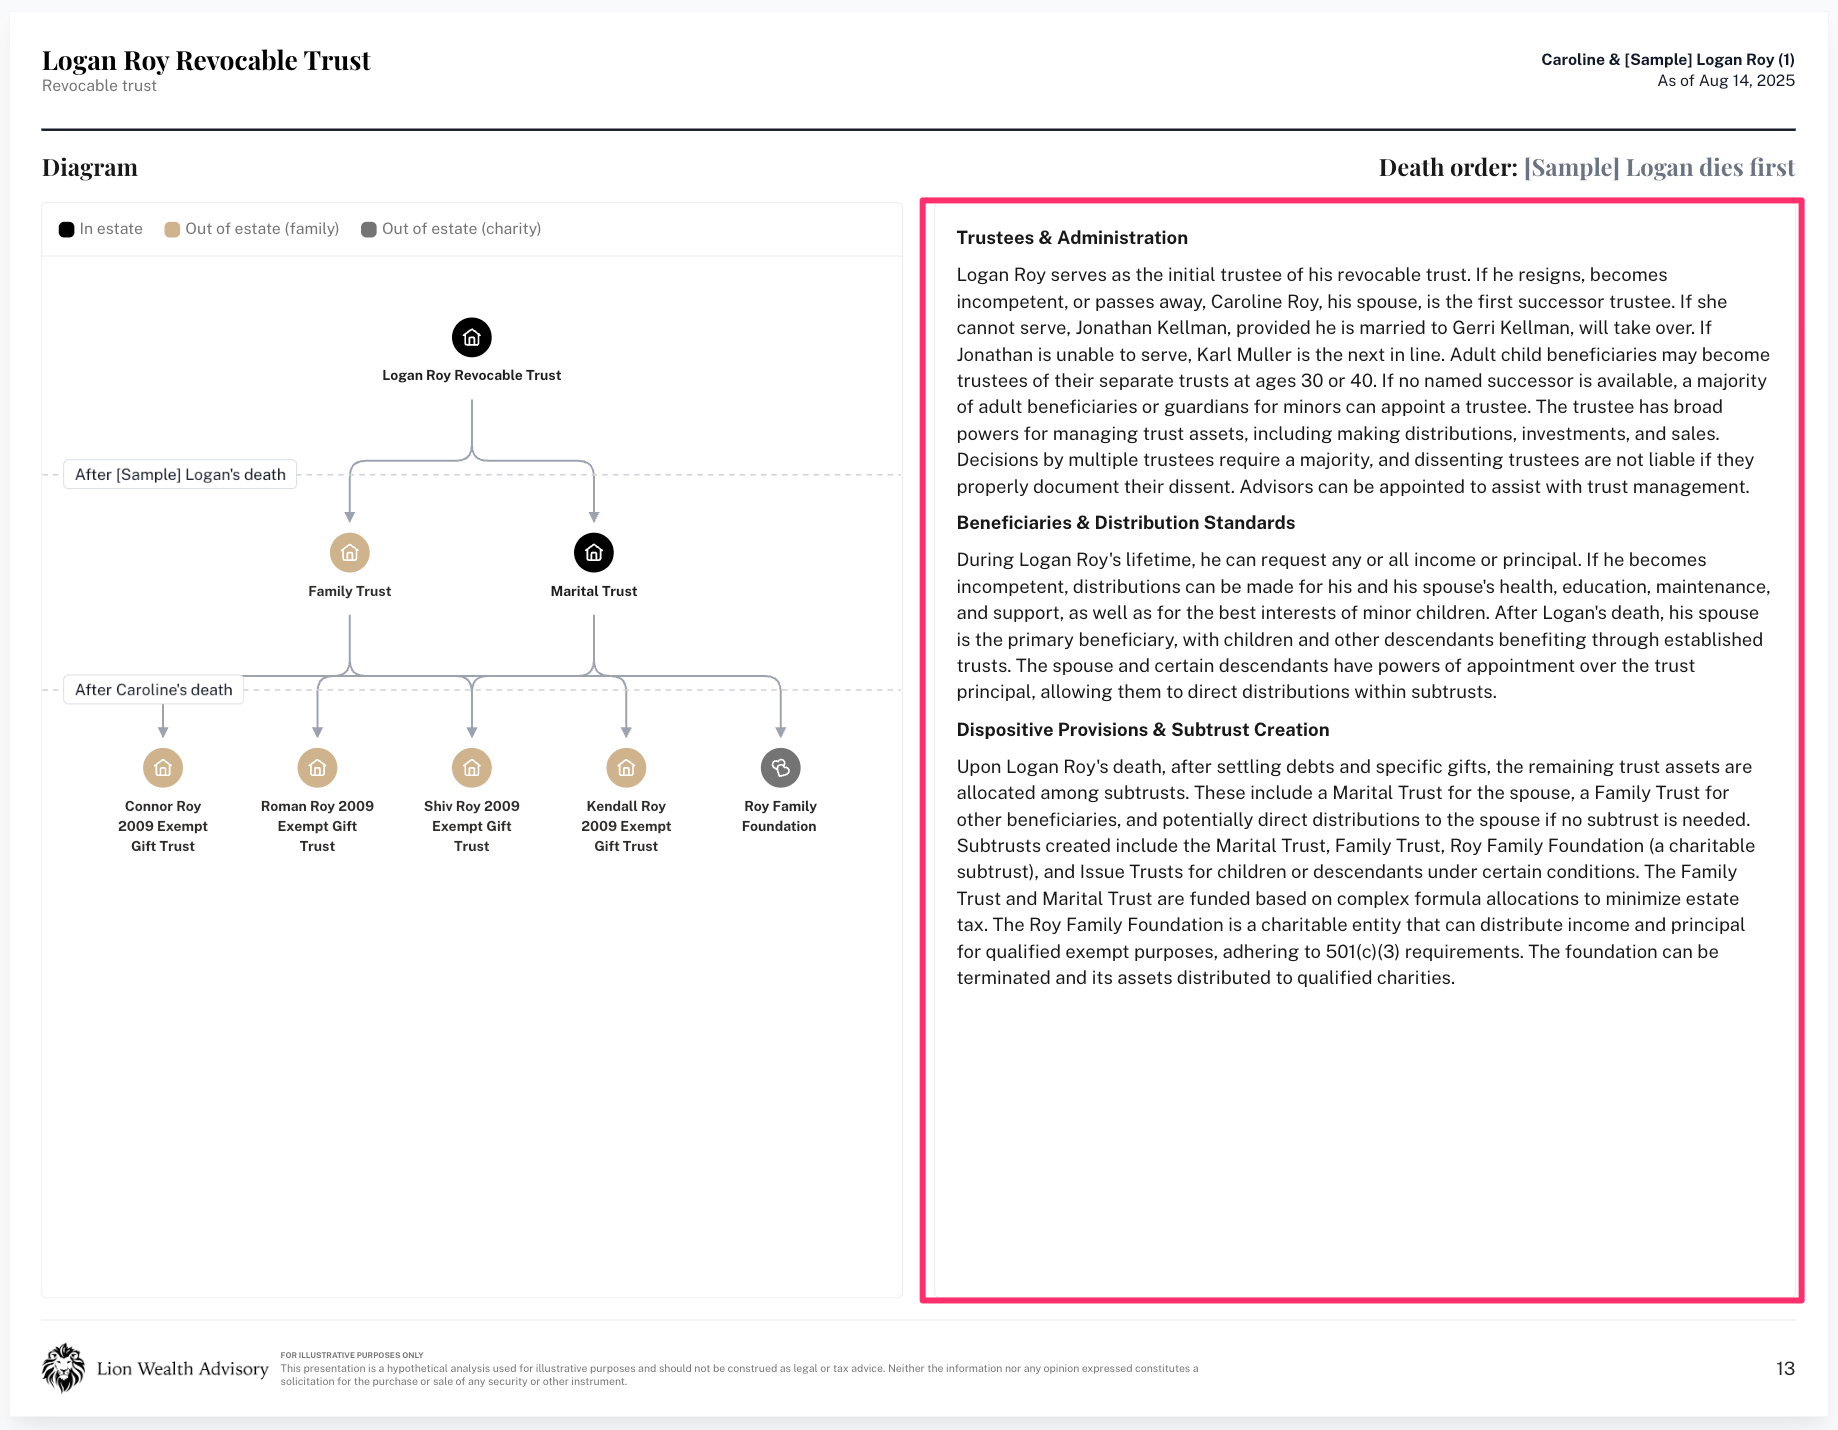
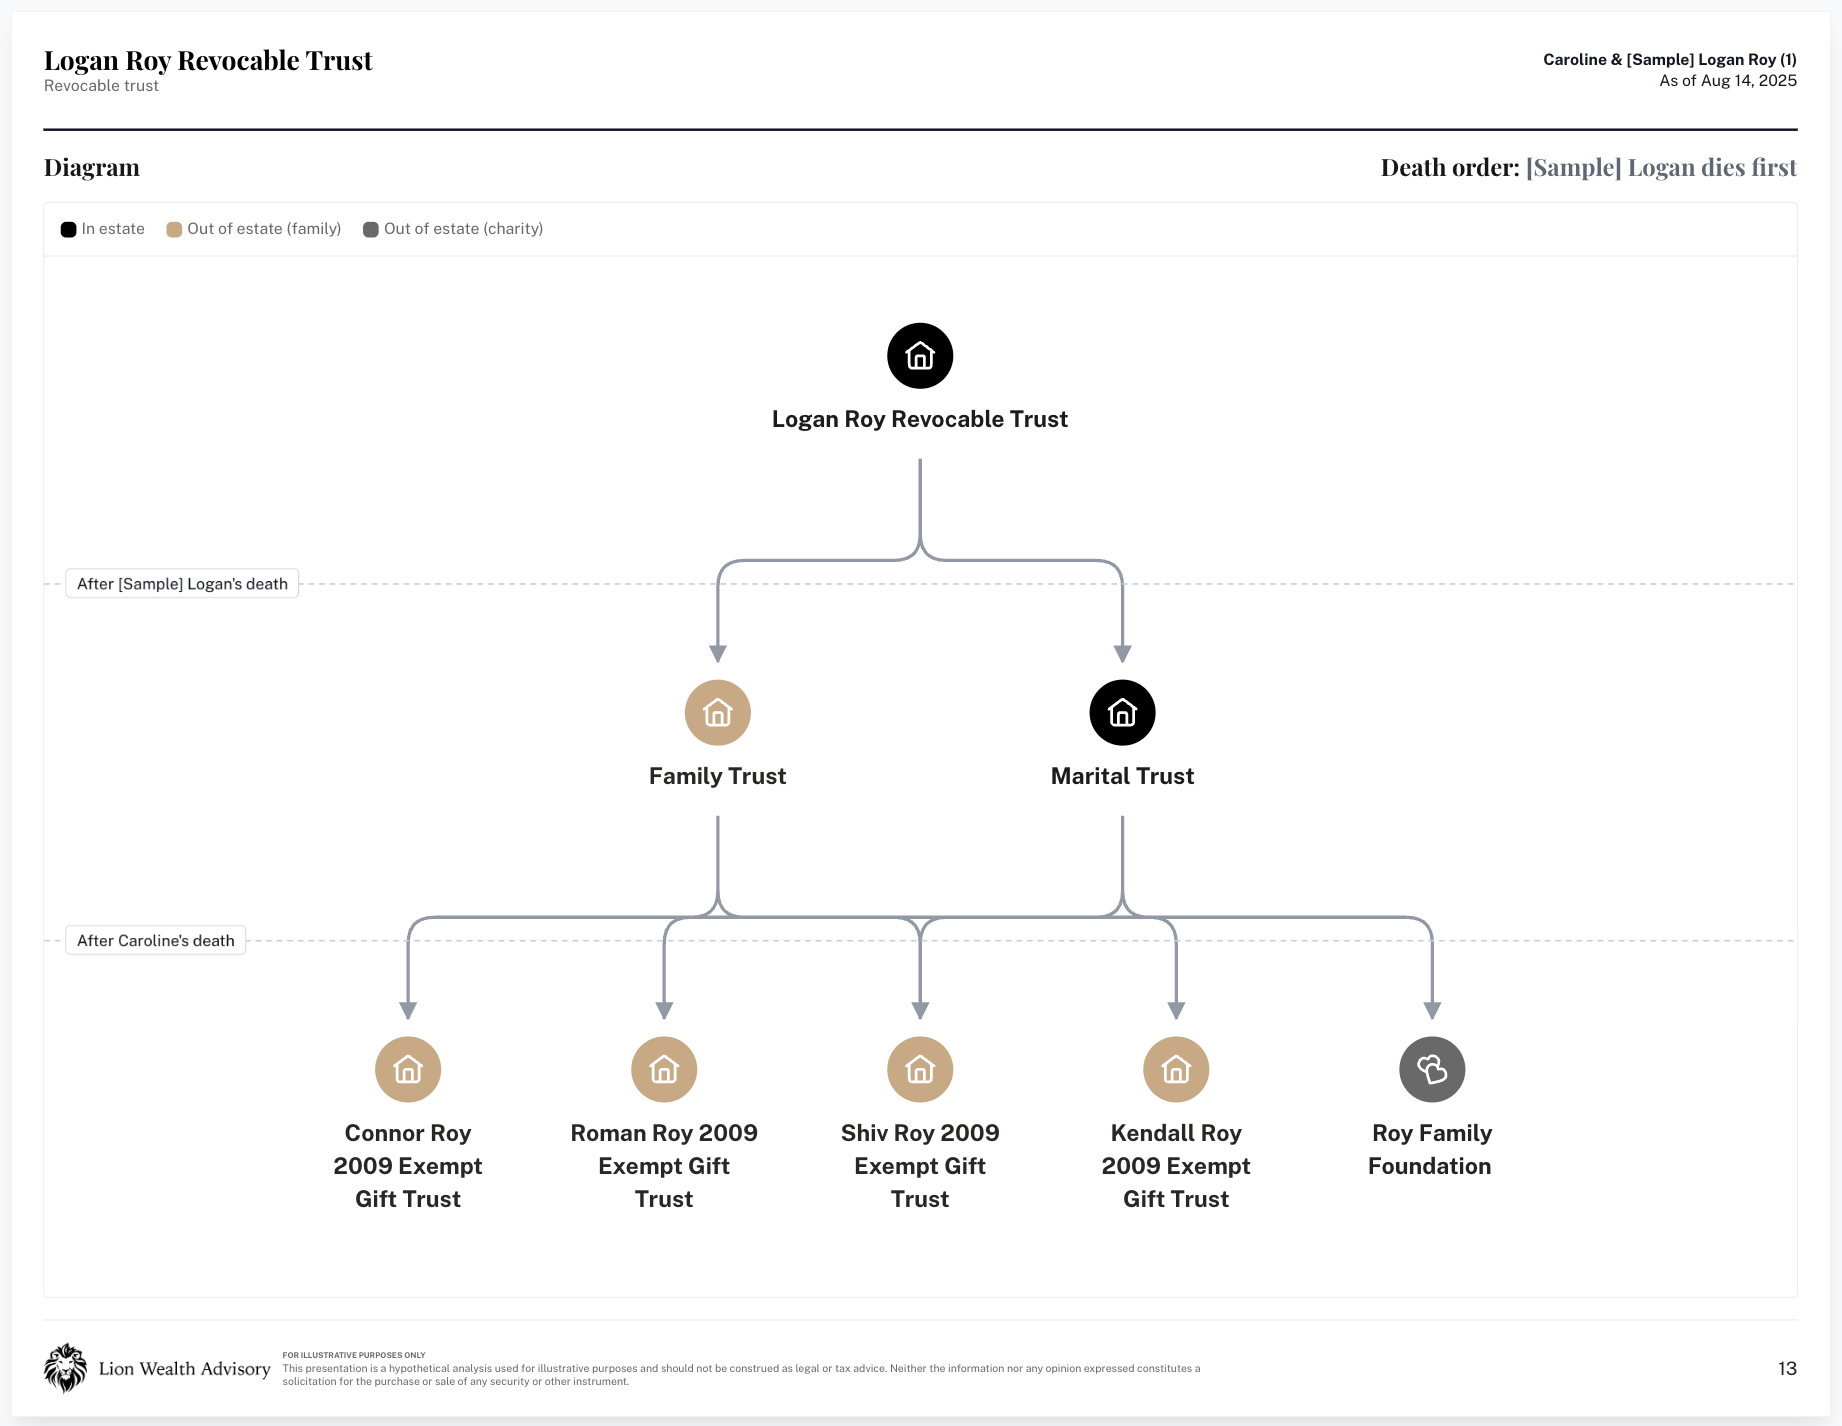
By default, all pages in the entity overview bundle will be included when you add a waterfall to your presentation. You can uncheck any pages you’d like to exclude. See below for a breakdown of what each sub-page includes:
Cover - Displays the entity name along with key high-level information
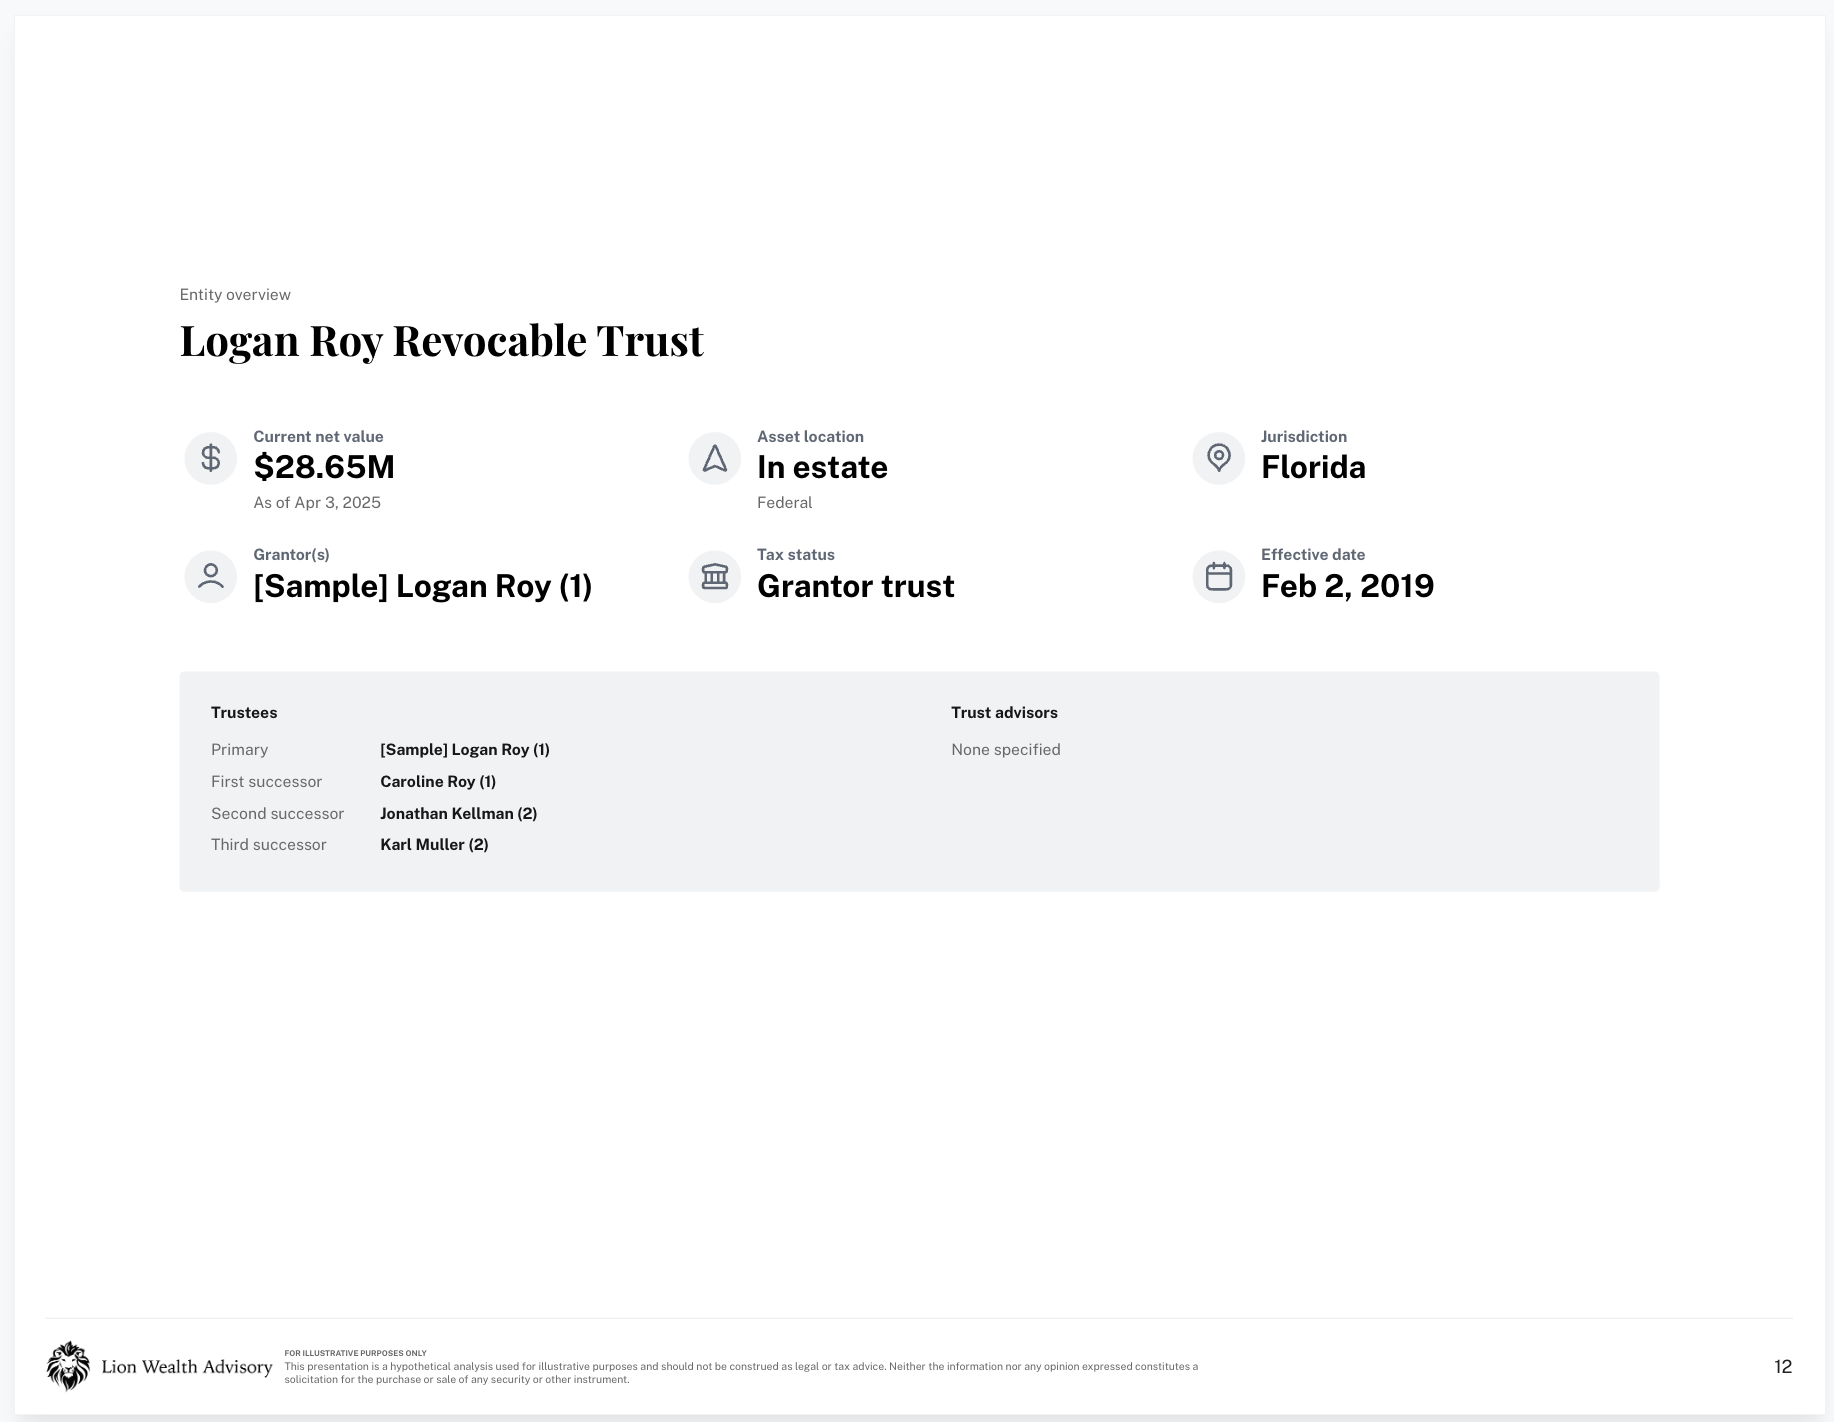
Diagram - This page displays the dispositive pattern of the selected entity based on your chosen death order, along with presentation notes if you choose to include them.
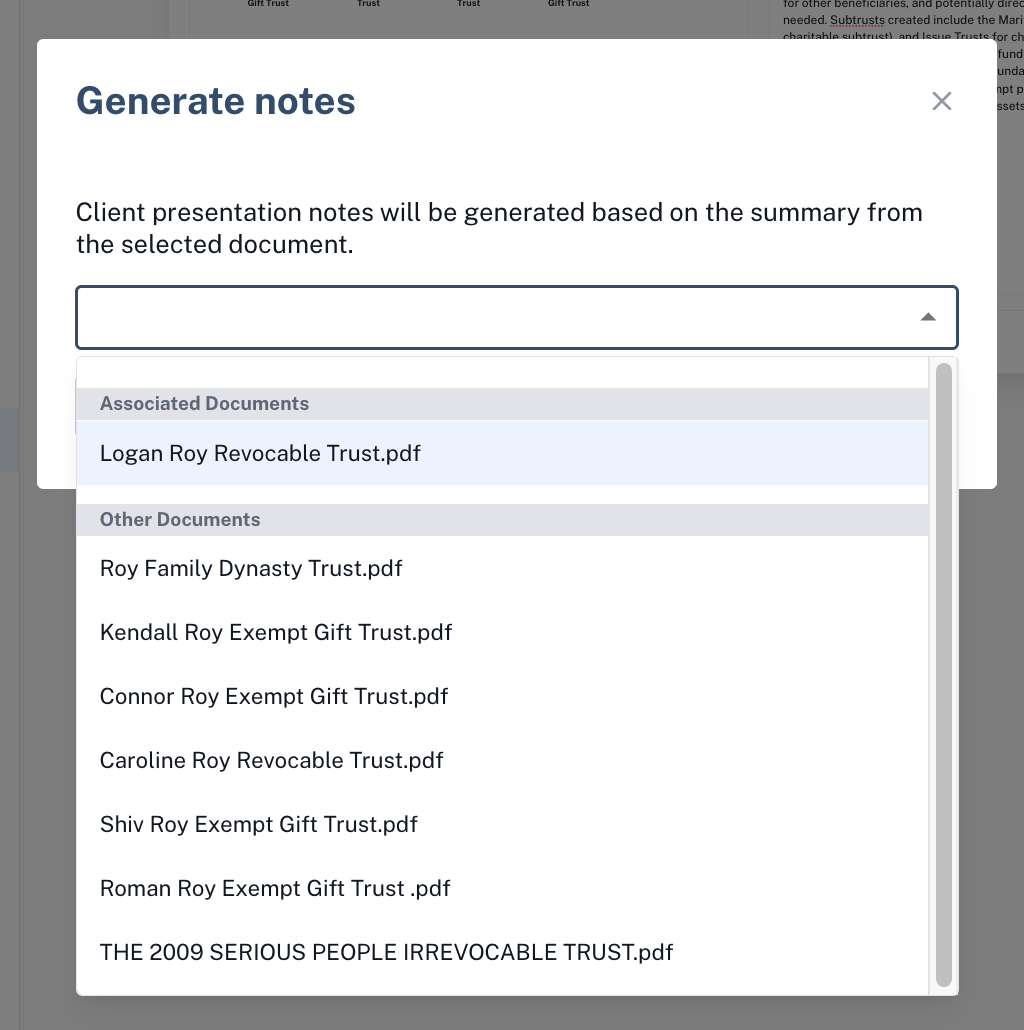
You can edit presentation notes directly within the presentation builder by clicking into the blank text box on the right side of the page. A text editor will appear with formatting options (e.g., bold, italics, bullet points), plus a “Generate with AI” button.
Clicking Generate with AI allows you to create a concise, client-friendly summary based on an uploaded document. After selecting a document in the pop-up, Luminary will generate a summary in about 10–20 seconds. You can edit the result at any time to fit your voice and message.
To make changes to the entity diagram, go to the Entities page and select the entity you’d like to update. Click on the Diagram tab, then select “Edit.” From there, you can reposition the icons as needed. Any adjustments you make will automatically carry over to the diagram shown in your presentation.
Beneficiary & Dispositions - This page shows which individuals, organizations, and entities currently have access to the selected entity, along with details about their level of access. It also outlines who ultimately receives distributions from the entity.
Insurance policies - This page will show details about any insurance policies this entity owns.
You can include the full length document summary in your Entity overview bundle by selecting the corresponding document from the dropdown menu.
Once you applied your selections, you can click "Add entity overview"!
Need to make changes later? Click the three dots next to the page title in the left-hand presentation navigation menu, then select “Manage” to update your customizations.