Customizing the diagram
Last updated: April 30, 2026
NEW! Customize shapes & shades of tiles and icons in the Estate Waterfall. Scroll down to Diagram Settings below.
Customizing your diagram
Luminary empowers you to tailor the Estate Waterfall diagram to your unique needs by allowing flexible tile arrangement and offering customizable display options—such as hiding tax tiles, dollar values, or lines—enabling you to create a design that aligns perfectly with your client conversations.
Arranging tiles
You can arrange the tiles on your estate waterfall in several ways, all accessible by clicking the “Edit” icon in the upper-right corner of your diagram view.
Drag and Drop In edit mode, click, drag, and drop any tile into your desired position. Red gridlines appear as tiles align with others, helping you create a sleek and organized layout.
Automatically Position Tiles When changes are made or new entities are added to the waterfall, the auto position feature helps you quickly arrange tiles into a neat layout, saving you the effort of organizing them manually. To use this feature while in waterfall edit mode, simply click the “Auto tiles” button in the upper-left corner of your diagram and select “Automatically Position Tiles” from the dropdown menu. The tiles remain adjustable, allowing you to make manual changes after applying the feature if desired.
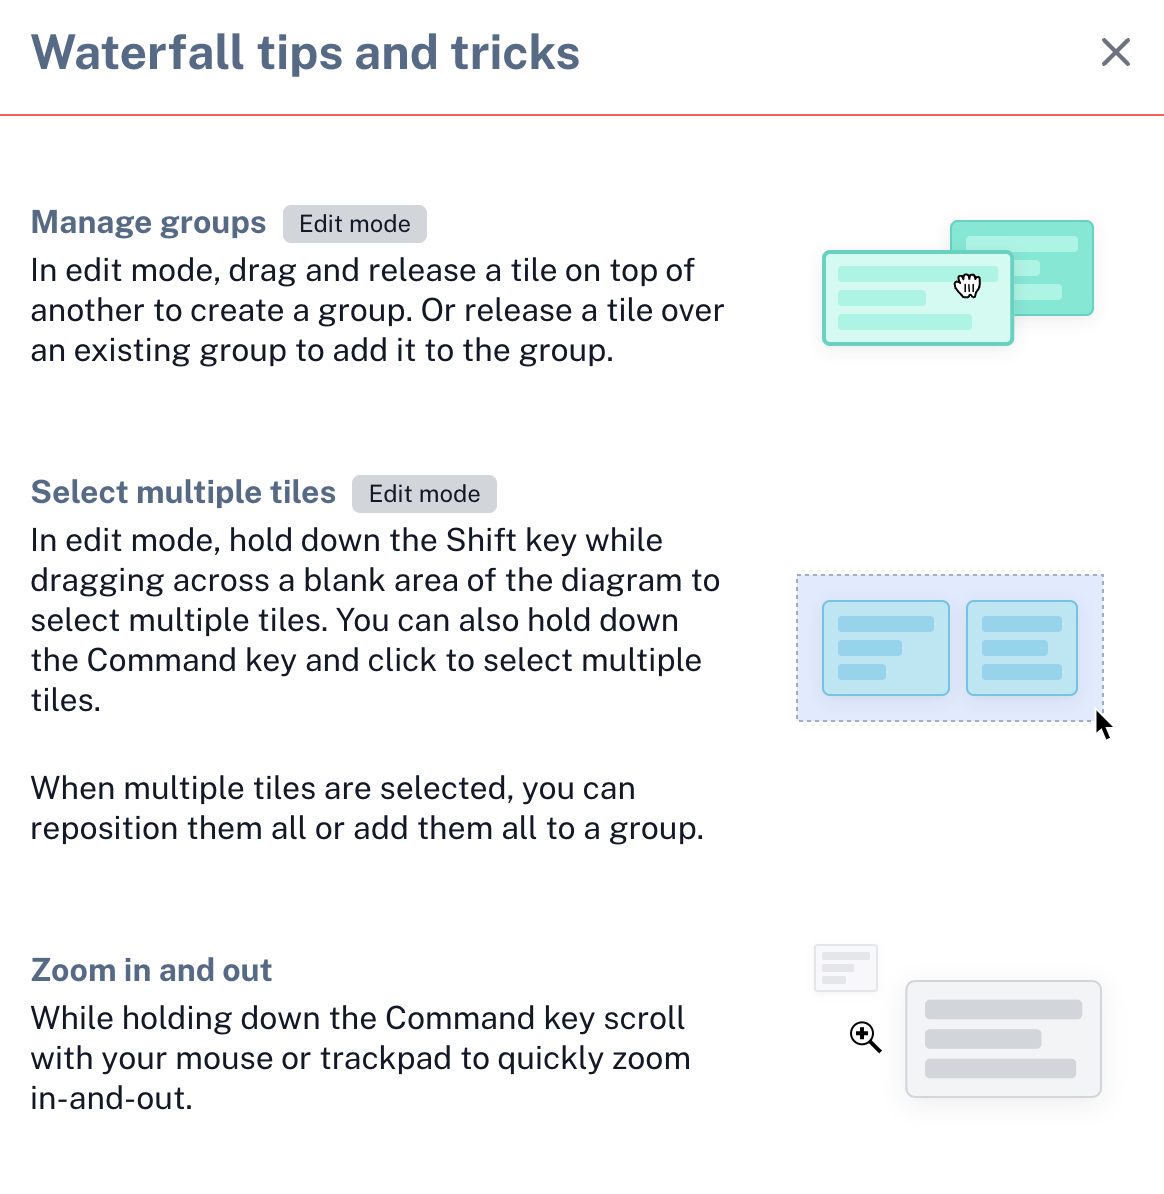
Bulk Tile Movement In edit mode, hold down the Shift key while dragging across a blank area of the diagram to select multiple tiles. You can also hold down the Command key and click to select multiple tiles. When multiple tiles are selected, you can reposition them all or add them all to a group.
Find tips and tricks directly in Luminary, navigate to Waterfall > Diagram > click the vertical ellipses in the upper right
Make editing the waterfall diagram easier by using our Full Screen mode (diagonal arrow button), and center view bottom (four corners button). Both buttons are found in the top righthand corner of the diagram area.
Diagram settings
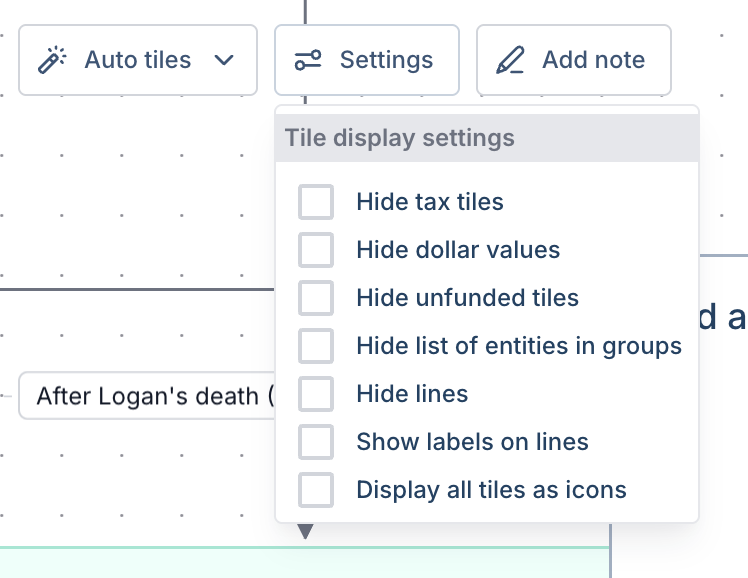
To customize the display settings for your waterfall, click the “Settings” button in the upper-left corner of your diagram and adjust your preferences by checking or unchecking the relevant boxes.
Customize size, contrast, and shape When one or multiple nodes are selected, you can modify the shape (circle, square, triangle or diamond), increase or decrease the size, as well as make certain nodes stand out by adjusting the color contrast.

Can't change an object's shape? Make sure the entity or individual is set to "icon" instead of tile.
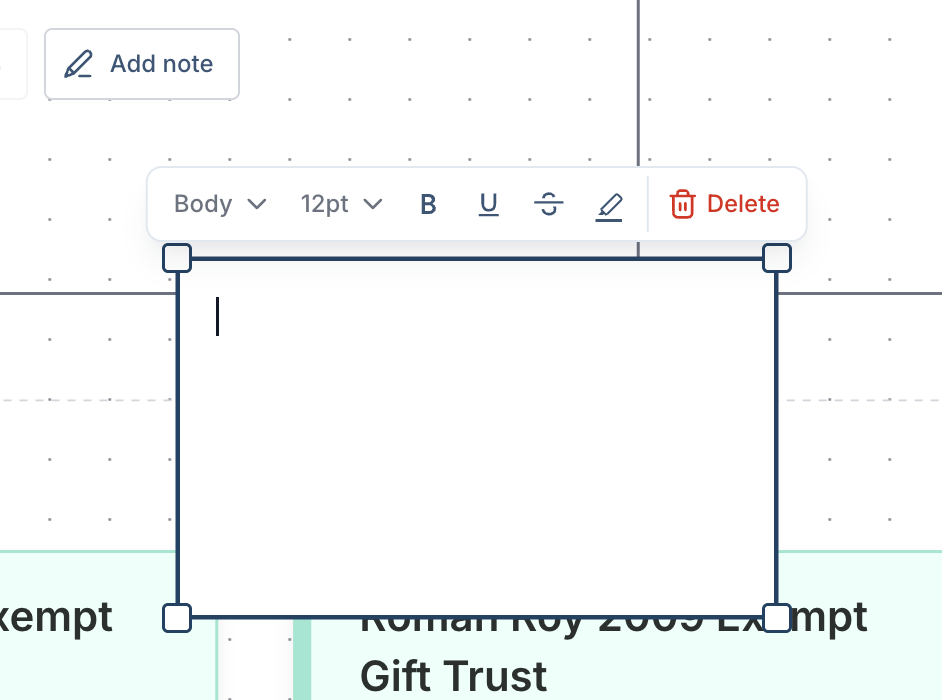
Custom sticky notes Add sticky notes anywhere on the diagram with custom text.
Luminary tip The view you have customized in the Waterfall section will appear as formatted, and with the settings selected, in the Presentation tab. Many users like to show labels on lines for the exportable pdf.